Swarm drone light show software download,
https://www.roppor.com
For more information on “ROPPOR Art Swarm Drone Light Show of 5 samples”, you can check out the video on the YouTube channel below.
5 samples for ROPPOR Art swarm drone performance [ENG Subtitle]
As the drone industry is in the spotlight these days, drone light show is being introduced in various media, and interest in drone light shows is increasing as the next-generation performance following fireworks display.
A personal computer (laptop, desktop) and MAXON’s Cinema 4D (R19~23 ver.) software are required to produce a drone show.
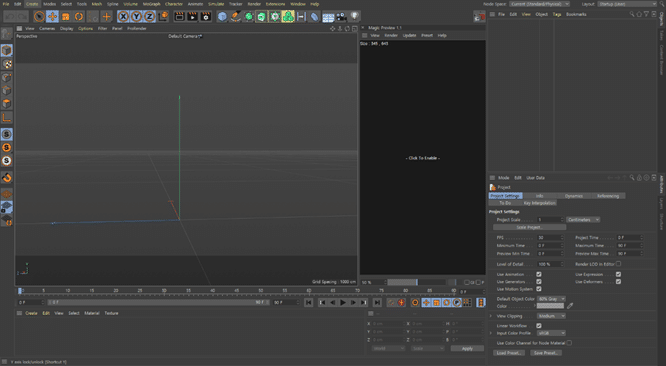
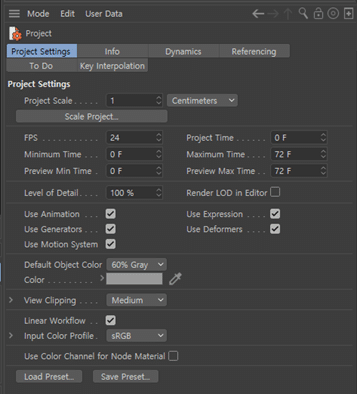
This is the “Project Settings” that should be done first.
You can think of it as touching the settings of the file we are working on.
Set the FPS value to 24.
Normally, it is recognized as 1 second = 30Frame.
To link Cinema 4D (hereinafter C4D) and ROPPOR, 1 second must be set to = 24Frame!
This is because the amount of frames per second that ROPPOR Art accepts is 24 frames.
ROPPOR Art uses a method of dividing 24 frames into 4 times and transmitting <6F, 12F, 18F, 24F>.
Transmitting information 4 times per second can make the drone’s movement smooth, right?
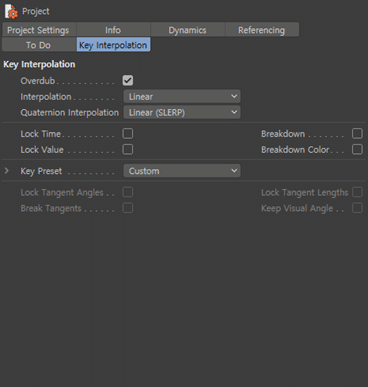
Go to the “Key Interpolation” menu and adjust the Interpolation value from Spline to Linear.
Now, let’s make a full-fledged performance formation! Press and hold the cube shape at the top
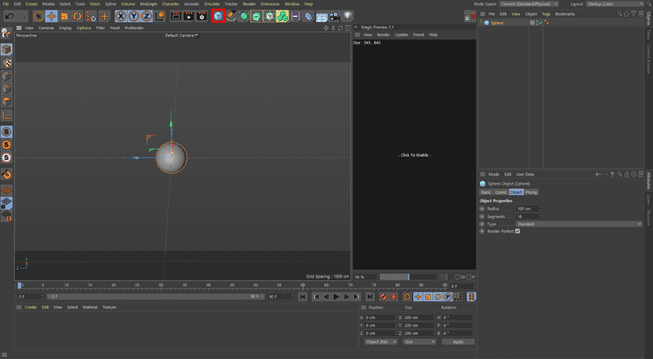
This menu is displayed and can be created by selecting Sphere
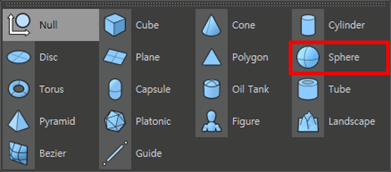
One (virtual) drone has been created that is different from the real thing, but very valuable.
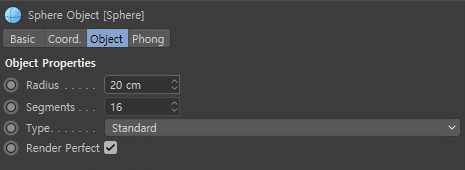
Adjust the Radius value to your own convenience.
In my eyes, 20cm seemed to be suitable~!
Now, we’re going to make several drones. If we create one by one according to the above method,
There is a tremendous amount of labor involved. To alleviate the inconvenience, the function to use is
Cloner!!