Swarm drone light show software download,
https://www.roppor.com
For more information on “Introduction to the swarm drone software platform, ROPPOR”, you can check out the video on the YouTube channel below.
Installation of ROPPOR Swarm Drone Remote Interlocking Software(SDAS)
2) Raspberry Pi Image Setting
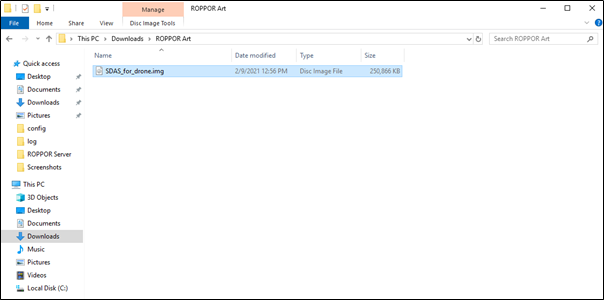
Prepare the Raspbian OS Image file “SDAS_for_drone.img” of ROPPOR software.
http://sourceforge.net/projects/win32diskimager/
Install and run Win32 Disk Imager from that URL.
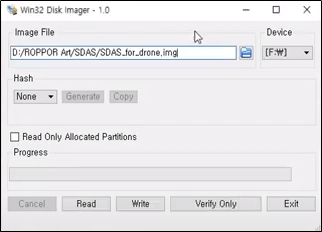
Select the downloaded SDAS file.
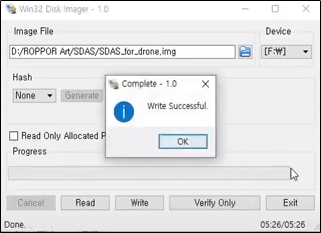
Click the [Write] button to write the SDAS image to the SD card.
After inserting the prepared SD card into the RPI, power on the RPi to proceed with SDAS installation.
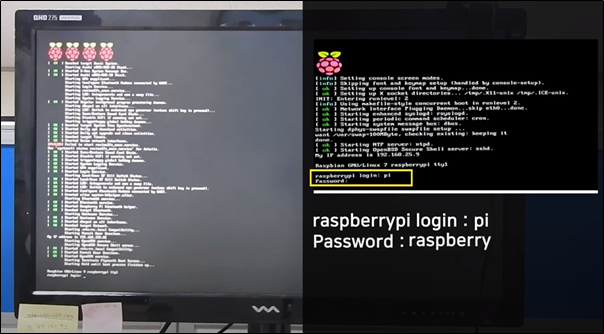
When the power of the RPI is applied, the above screen appears. Enter ‘pi’ for Raspberrypi for login and ‘raspberry’ for Password to log in. At this point, the RPi must have an internet connection. If there is no LAN port like RPi 3A, you need to use Wi-fi. After logging in, enter ‘ipconfig’ to check if you are connected to the Internet.
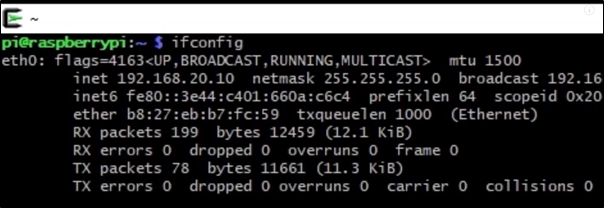
The image above is a case where an IP has not been assigned because there is no internet connection. Let’s connect the internet using Wi-Fi.
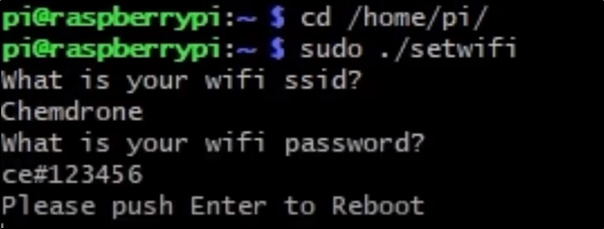
Change the directory by typing ‘cd /home/pi/’ in the command window, and then type ‘sudo ./setwifi’. After that, additionally input the ssid and password of the wifi to be used to access the Internet.
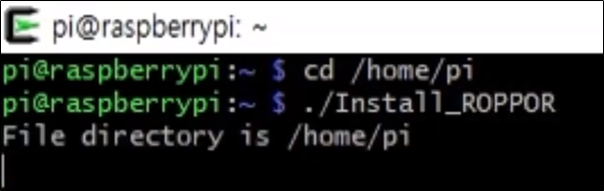
Now, let’s proceed to install ROPPOR’s SDAS. Enter ‘cd /home/pi’ to go back to the directory. After moving, enter ‘./Install_ROPPOR’ to proceed with the installation.
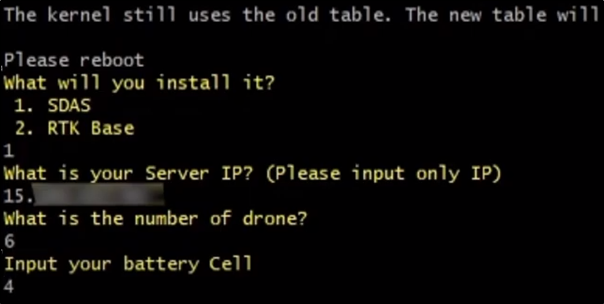
As you proceed with the installation, you will be asked several questions. The first question is whether to install SDAS or RTK. Since SDAS is being installed, I will choose No. 1. The second question is asking for the public IP of the initial VPN Server. It is possible to interlock with the ROPPOR of the operating PC only by entering the corresponding IP. Next, enter the drone number and battery cell to be registered in ROPPOR.
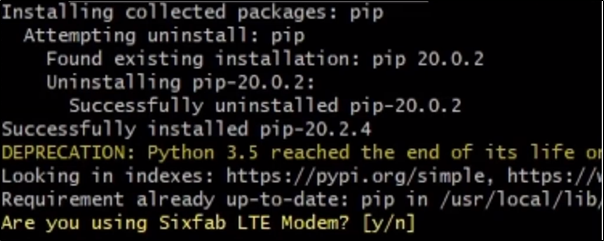
At the end of the process, a question about Sixfab comes up. Since we are currently using Sixfab, we enter ‘y’.
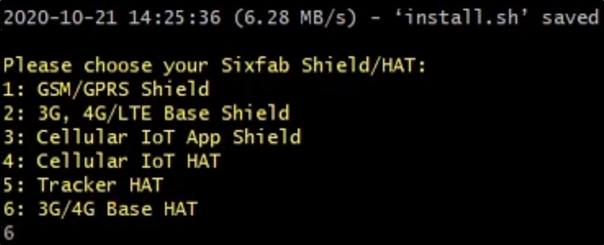
Since you are using Base Hat, enter ‘6’. After that, input ‘y’ to the question asking whether to proceed with the installation.
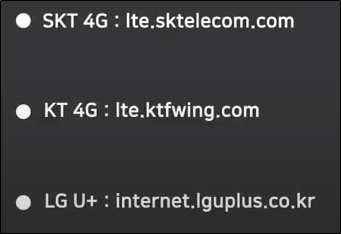
The image above is a domestic APN list.
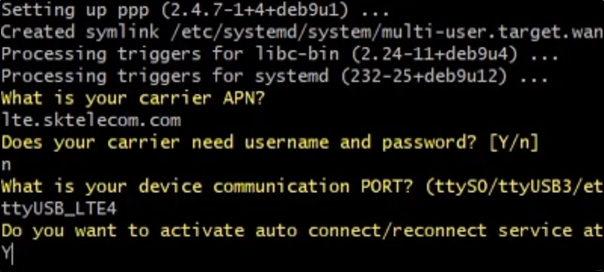
Enter the APN of the LTE you are currently using, and enter ‘n’, ‘ttyUSB_LTE4’, and ‘Y’ in that order.
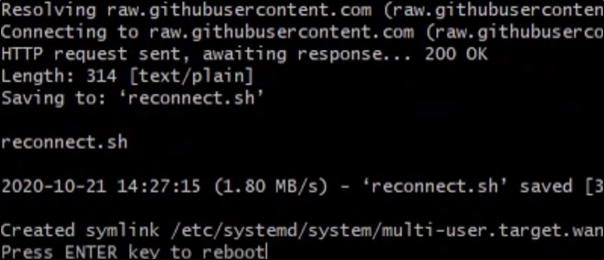
Finally, press Enter to complete the installation and SDAS installation is complete.
In the next section, we will look at how to operate the ROPPOR Art swarm drone performance using large samples of the 5 major performances.